OK, this is a pretty boring update to the blog, but I thought it might be useful to at least a handful of people. Flash Builder 4 comes with a stock version of the Flex 3.5 and 4.0 SDKs. If you are like me, though, you want the latest and greatest as soon as you can get your hands on it. For that reason I put together this very short and simple explanation of how to install specific Flex SDKs for your Flash Builder 4. For those familiar with Flex Builder 3, this will seem pretty familiar.
- FLASH_BUILDER_4_HOME is your Flash Builder 4 install path (i.e., C:\Program Files\Adobe\Flash Builder 4)
- SDK_VERSION is the version number of your Flex SDK (i.e., 4.1.0)
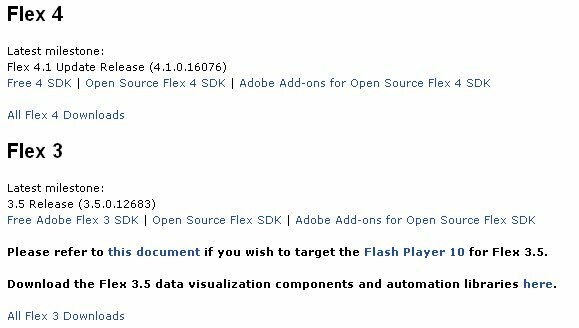
- Get your desired Flex SDK from the Flex SDK Download page.
- Unzip the archive to FLASH_BUILDER_4_HOME/sdks/SDK_VERSION
- Open Flash Builder 4 and in the menu bar goto Windows -> Preferences

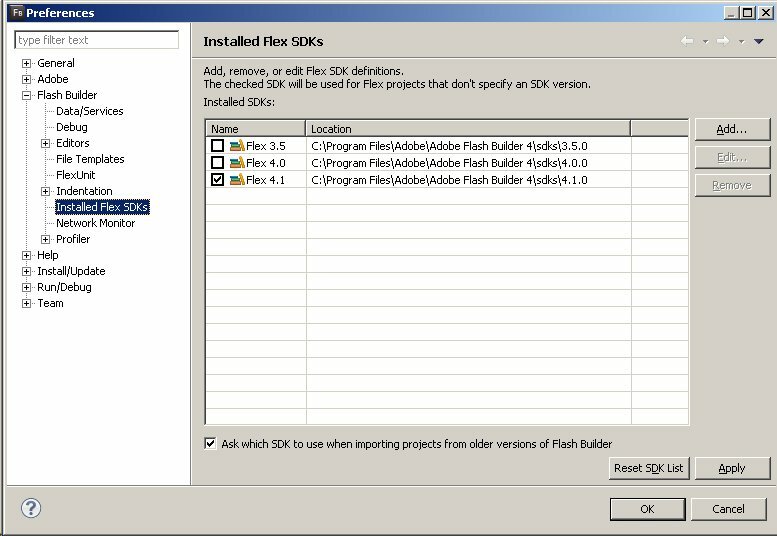
- In the left pane of the Preferences window expand “Flash Builder” and click “Installed Flex SDKs”. Click “Add…” in the right pane.

- In the “Add Flex SDK” window enter the location of your new SDK (FLASH_BUILDER_4_HOME/sdks/SDK_VERSION) or click the “Browse..” button to find it yourself. If you enter the path correctly, the “Flex SDK Name” field should auto-populate with the correct SDK name.

- Click “OK” and your Flex SDK should be successfully installed. You can now also set it as the default, if you wish, for all your future Flex projects. Just click the checkbox next to the name of your SDK and click “Apply”.
Even if you set up a new SDK as the default, there’s no reason you have to use it on all of your projects. During the creation of a new Flex project you can specify which SDK you want to use in the “Flex SDK version” section. You simply need to click the “Use a specific SDK” radio button and then select one of your installed SDKs from the drop down.
You can also change the SDK after the project is created. With your project selected, goto Project -> Properties and then click on “Flex Compiler” in the left pane. On the right you’ll now see the same “Flex SDK version” section that was mentioned in the last paragraph. Just change it and click “Apply”.
And thats about it. Dig and have fun, Flash Builder 4 really is a fantastic IDE.


Thanks a bajillion. This should be at the top of the Google search heap for “Install Flash Builder SDK”. I think you have the only step-by-step tutorial. Everybody else (even Adobe) has something like 1.) download 2.) make it work. So thanks for this.