by Tony Lukasavage on Monday, October 4th, 2010 |  1 Comment | Tags: Away3D, heightmap, HeightMapModifier

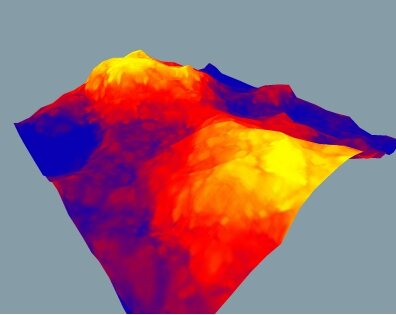
→ Click here or the image above for the demo.
→ View the source code.
As usual, shortly after finishing an Away3D demo an Away3d dev (this time Fabrice Closier) suggests a better way to do it. In my previous 2 demos (part 1 and part 2) I created fluid and morphing effects on planar meshes using a modified version of the SkinExtrude class.

Dynamic Height Maps, Part 1
|

Dynamic Height Maps, Part 2
|
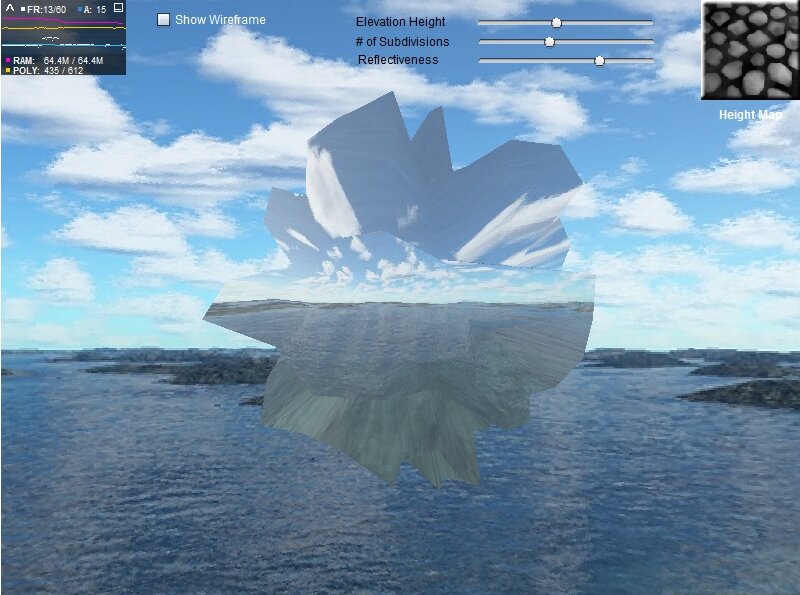
As per Fabrice’s suggestion, this time I did the same using the HeightMapModifier class. No modifications to Away3D source code necessary and it works on any mesh, planar or otherwise. In this example I apply dynamic height maps to a sphere to create some pretty wild meshes. Be sure to toggle to wireframe mode so that you can get a good look at how the vertices move with each height map transition. Here’s a snippet of how it works:
[Embed("heightmap.jpg")] private var hmImage:Class;

var heightData:BitmapData = Cast.bitmap(hmImage);
var sphere:Sphere = new Sphere();
var heightMapModifier:HeightMapModifier = new HeightMapModifier(sphere, heightData);

// offset determines the minimum height value of each vertice
heightMapModifier.offset = 300;

// scale is the multiplier for the calculated height values
heightMapModifier.scale = ELEVATION_HEIGHT;

// execute the modifier
heightMapModifier.execute();
One other cool note to remember is that you can also use negative values for scale. By doing so you can create indents rather than bumps on your mesh. See what happens when you turn the “Elevation height” all the way down on this demo.
Also in the example I utilize the EnviroBitmapMaterial to give our target mesh a shiny, reflective appearance. True reflection is very processor intensive and is outside the realm of feasibility right now for 3D Flash. But by using environment materials, we can “fake” a reflective surface by using an environment map that closely matches the Away3D scene. In this case the environment map I used for the EnviroBitmapMaterial is one of the images I used to create the skybox for the scene. You’ll notice the reflective effect even more as the mesh morphs or when you orbit around it.
There you have it, mesh morphing and reflective materials in Away3D. With a little luck, this’ll be the last time you have to hear me talk about it for a while!
by Tony Lukasavage on Thursday, September 30th, 2010 |  2 Comments | Tags: Away3D, heightmap, morph

→ Click here or the image above for the demo.
→ View the source code.
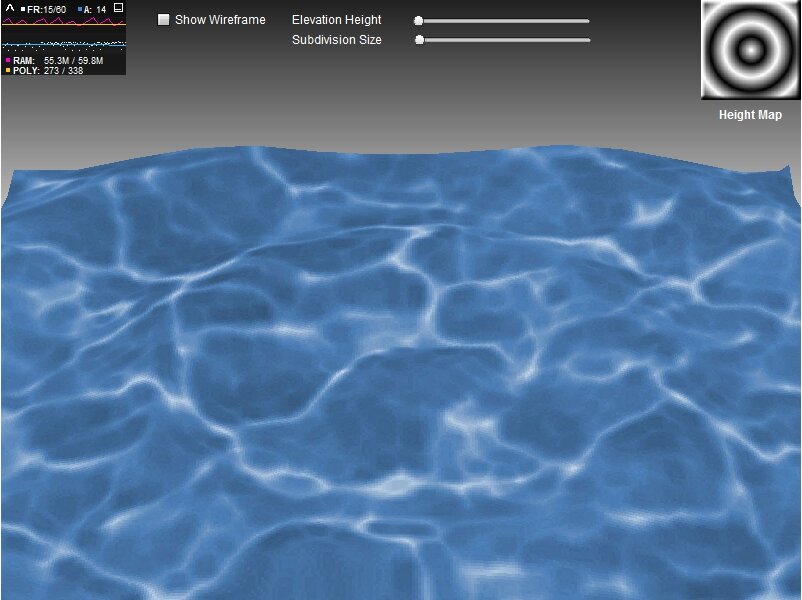
As I have a way of doing, I immediately started working on a better demo upon finishing the last one on height maps in Away3D. In this demo I use simple bitmap transitioning and my modified Away3D SkinExtrude class (SavageLookSkinExtrude) to create a morphing effect. Basically one mesh’s vertices will smoothly transition to the position of the next mesh’s vertices based on the given height maps.
I mentioned Exey Panteleev’s fluid simulation in PaperVision3D and Away3D in my last post as a method superior to dynamic height maps for creating a flowing, fluid mesh in Away3D. I still stand by the point. But as shown in this demo, dynamic height maps offer many more possibilities as provided by the control you have over the 2D height maps. In fact, you can have a designer, with no knowledge of Away3D of 3D math, create your height maps and you can handle the morphing.

Morphing SavageLook Letters
The shapes you can morph are only limited by your imagination… OK, that’s not entirely true. The shapes will be limited by your ability to create, or find, height maps that suit your needs. Also, with this method you are limited to morphing the plane that is the base of the SkinExtrude, or in this case the SavageLookSkinExtrude. Morphing other 3D meshes or primitives is beyond the scope of this technique, and to be honest, beyond my expertise at this point in time.
Even with those limitations, though, this method offers some really eye catching dimension to the toolkit of a hopelessly code driven 3D artist like myself. Play around with it and let me know if you come up with something cool. I’d love to see this method work with some more interesting height maps, like facial maps.
NOTE: I’m currently inquiring on the how to get the subdivision size of the SkinExtrude smaller so that I can get more accuracy and precision. Unfortunately as it stands triangles start to disappear when the subdivision size goes lower than 20. I’ll update this post if we come up with a solution. Please let me know if you come up with one yourself.
by Tony Lukasavage on Wednesday, September 29th, 2010 |  No Comments | Tags: Away3D, fluid, heightmap

→ Click the image above for the demo (or click here).
→ View the source code.
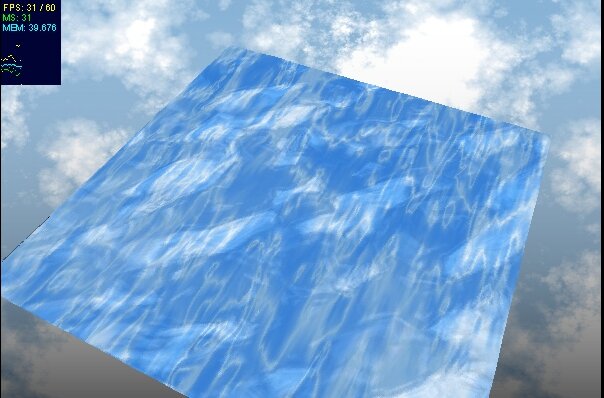
While there might be other simpler ways to do it ( comes to mind), I found myself working with the Elevation and SkinExtrude classes in Away3D and created some cool flowing effects. The basic idea is that you dynamically create a gradient bitmap in AS3, tween its appearance on each frame, and use that bitmap as a heightmap for a SkinExtrude. This will give you the effects shown in the demo above.
I had to make a few slight changes to the existing SkinExtrude class in order to make it more efficient to reuse in each frame. This is the SavageLookSkinExtrude class found in the source code. It is identical to the SkinExtrude class found in away3d.extrusions, except for the annotated sections that allow me to generate the heightmap extrusion more than once per instantiation.

Exey Panteleev's PV3D & Away3D Fluid Simulation
The inspiration for this demo came from 2 places. The first is Exey Panteleev’s (much better) fluid simulation. The code displayed on his page is for PaperVision3D, but there’s a link for the Away3D code as well. All things being equal, you should be following the footsteps of Exey since his solution performs much better than mine. I just did this demo cause frankly I’m not that good at 3D math and I could barely understand the math involved in his solution. The only real advantage of my method is that you have more control over the pattern as it is driven by the bitmap.

Jason Bejot's Away3D Terrain
|

Height Map for Away3D Terrain
|
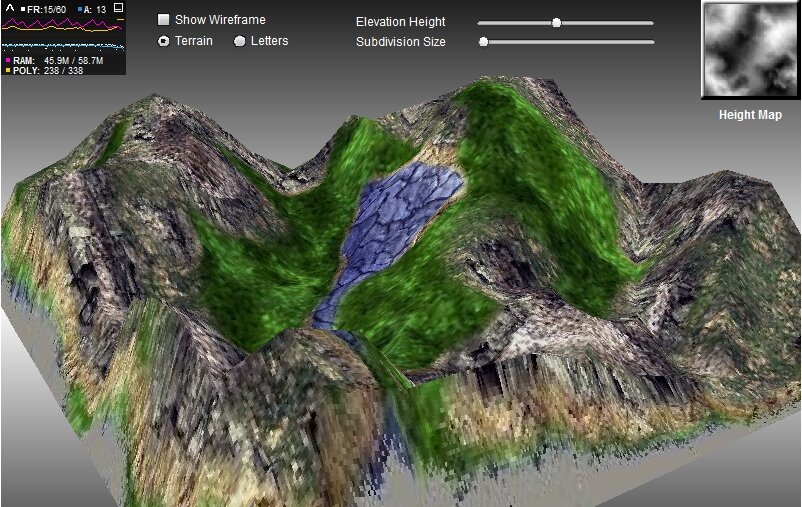
My other source of inspiration, as well as pure tutelage with Away3D height maps and SkinExtrude, is Jason Bejot’s “Create Terrain in Away3D” tutorial. Jason gives a very easy to follow and concise look at how you can use Away3D’s Elevation and SkinExtrude classes in conjunction with grayscale height maps to create realistic terrain. I basically just took his method and put it in motion.
As you can see, there’s more than one way to skin this cat. Play around with it and see what kind of creations you can make with heightmaps and SkinExtrude. I don’t have the time to play with it now, but I feel like bitmaps given the PixelBender treatment might create some pretty wild 3D objects.


